3D Printed Coin Organizer
|
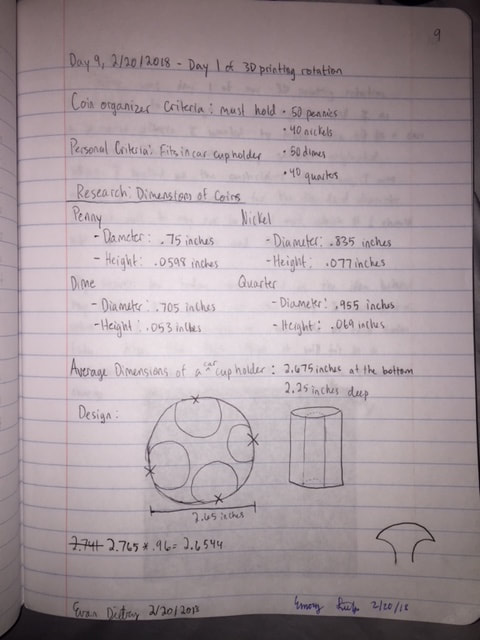
This is my initial research for the project. I found all of the diameters of coins and wrote the constraints for the project. I also had a personal criteria of getting my coin organizer to fit into my cars cup holder, so I looked up standard measurements for that as well and documented them. I will use these measurements in my design. I also sketched my design, which has slots so you can see the sides of coins and pick out specific amounts of coins.
|
|
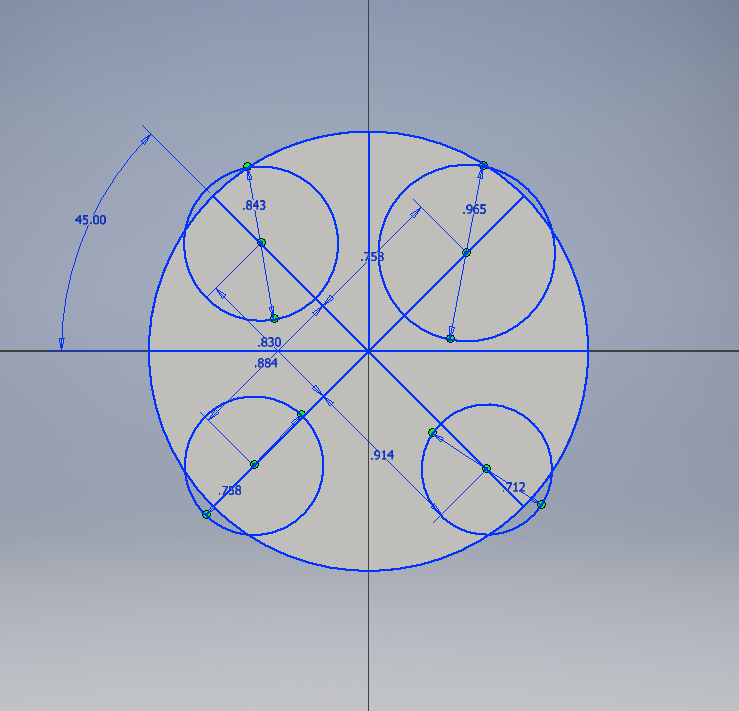
My design was a fairly simple concept in inventor. The first thing I did was sketch a circle with a diameter less than a cup holder and extruded it a distance greater than the width of 40 nickels (the tallest it had to be). Next I drew four lines from the center of the circle 45 degrees from angle 0, each 90 degrees apart. I used these lines as constraints for the center of the four circles that were my coin holes. I made each coin hole 1 percent larger than the actual coins dimensions, which turned out not being enough lee-way in the end. I adjusted the length of the lines constraining the circles to position them so that they each overlapped the edge of my original circle the same amount, so that the viewing slots would be the same size.
|
|
|
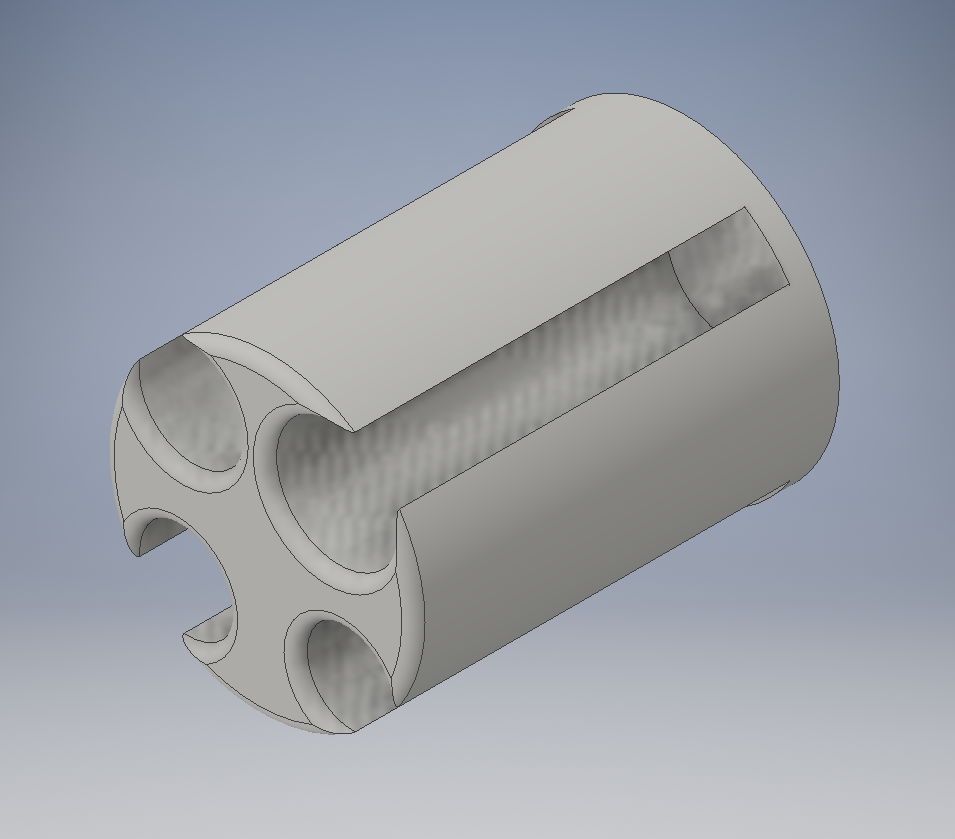
After finishing my sketch on the top of my cylinder, I used the extrude tool again and this time, I selected all 4 coin hole circles, extruding them backwards just deeper than the height of 40 nickels but not as deep as my cylinders height. I didn't want them falling out the bottom if you put coins in! The final step was a fillet of the edges on top of the coin holes so that there was almost a funnel for the coins to fall down the shafts. This is my completed design.
|
|
|
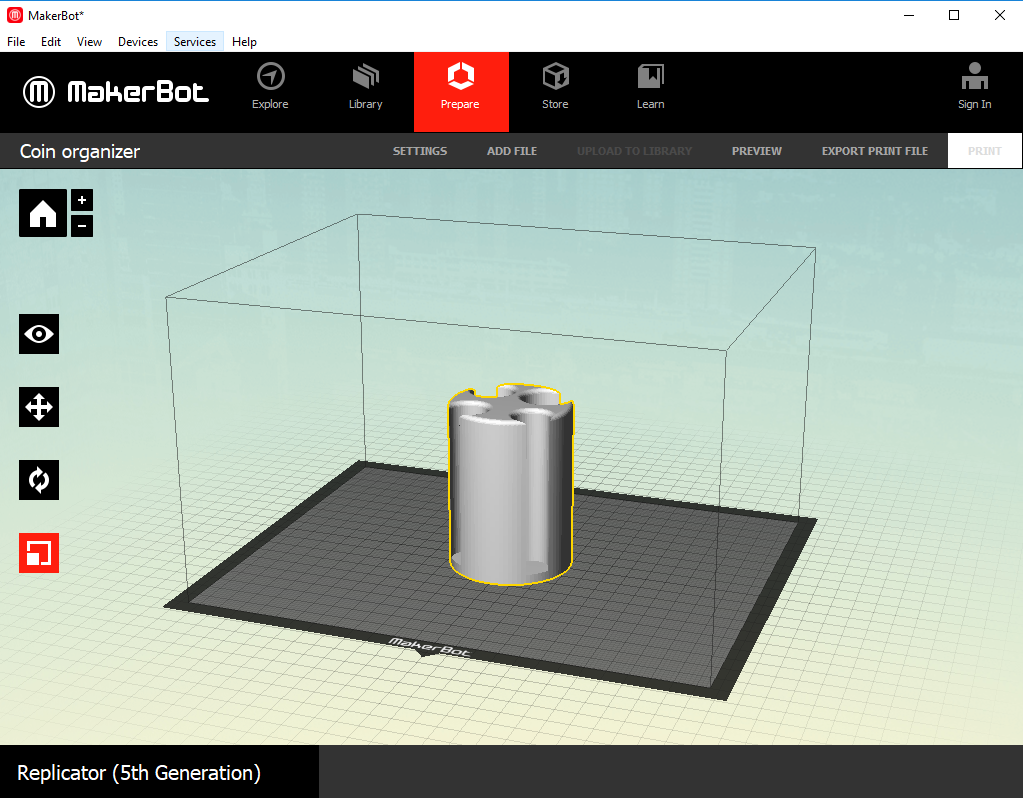
Now it's time to 3D print! I exported my inventor part file as a CAD STL file. I opened up the MakerBot software and added the STL file I just created. I selected my coin organizer in MakerBot's work space and used the scaling tool to make everything 1000%, which made my coin organizer my desired dimensions as it was in inventor. Then I clicked "export file" and I now had a file compatible with the 3D printers. I saved this to my USB drive, and checked the print time in the print preview provided.
|
|
|
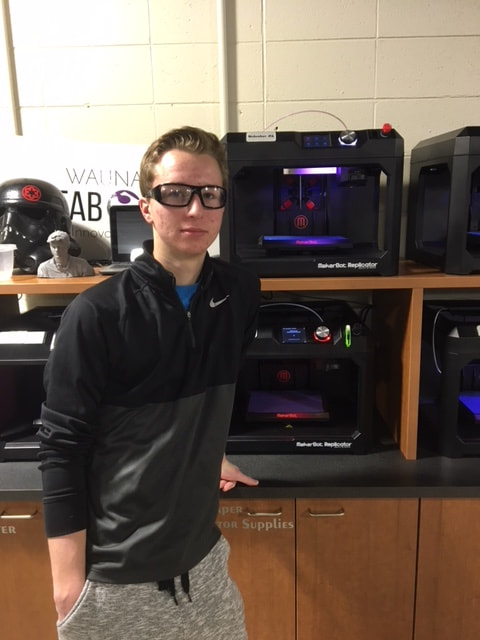
Once I plugged in my USB drive to the 3D printer, which was already loaded with black filament (the color I wanted), I selected my file and pressed print. Here is me looking goony next to the 3D printer as the extruder heated up. Photo credits to Emory, although he didn't capture my best angles like a good photographer.
|
|
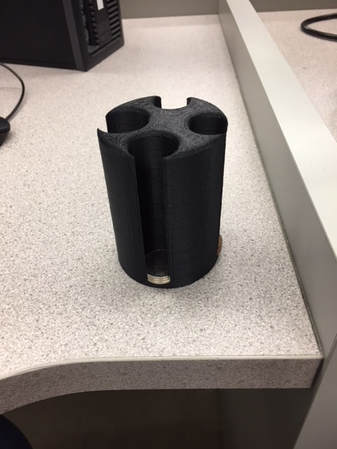
It turned out really well! However, when I tried to fit coins into the holes, it was really really tight. I had to be forceful, but I noticed it seemed to get easier as I wore down the tunnels. It looks really sharp, and it gets the job done.
|

|
I learned a lot during this 3D printing project! First I learned that I am stupid, as 1% is not nearly a large enough margin for a size change to make a comfortable fit for the coins. I also learned how to constrain certain pieces in inventor, such as my coin circles in my second sketch. Mr. Wilhauer also showed us how to change the filament, and even though I never needed to, it's good to know. I might change my coin circle dimensions and add a hole through the middle of my design to act as a way to grab the organizer as well as to shorten print time (on my own time). If I reprint a better version, I would actually use it in my #twinning nissan car, Mrs. Proctor (:
