Gear Maze
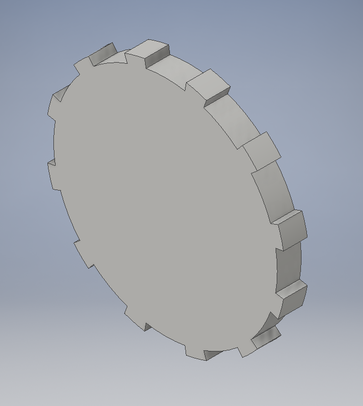
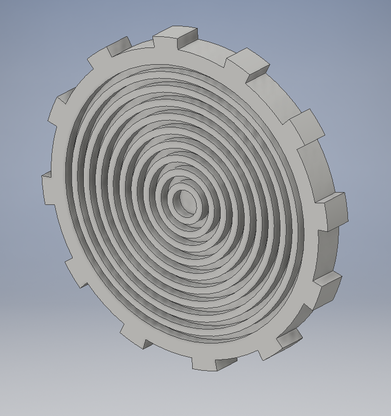
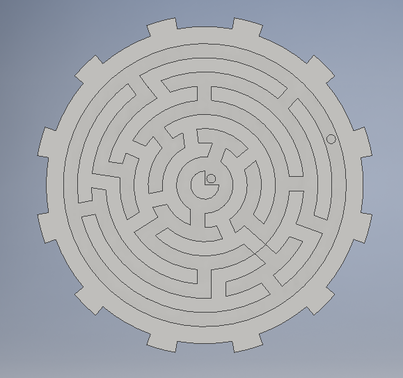
When I learned we needed to make a maze, my first instinct was to make an 'E' for Evan but Emory thought he was more important than me for some odd reason. Instead, I decided to make my maze the shape of a gear to go with the theme of the innovation center. I started a 2D sketch in Inventor and discovered the arc tool, along with the mirror tool, to create my original gear shape (lower left). After that, I made circles with 5/16 inches between them and a 3/4 inch border along the outside. However, the first time I did this I didn't notice circles were measured in diameter, so there were too many circles too close together, which I changed later (lower right).
|
|
After fixing the spacing, I used the line tool to create gaps to cut out of the extruded walls, and trimmed away any excess lines. I created several holes and dead ends in such a manner that there was just one true path to reach the finish point, a notch located at the center of the gear. Looks pretty cool!
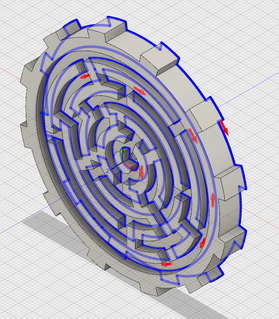
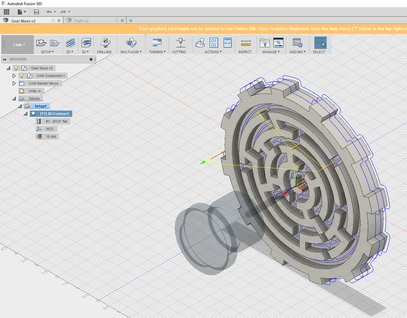
After finishing this, I had to make the file compatible to the CNC software, so I used the Fusion 360 program. I uploaded my file and oriented my maze in the new setup I made. I also chose the center of my design as the box point, which indicates where the end mill will begin routing (lower right). To finish the setup, I changed the stock to the size of my design and I made the bottom offset 0. Then I made a contour setup to decide the path the end mill will take. Mrs. Proctor helped me select the lines along the bottom of the grooves so the router will go deep enough (lower left). Before transitioning, I needed to make sure the program knew what type of end mill was being used so that the passes wouldn't get messed up. Mrs. Proctor gave us the dimensions of the bit we were using and I entered them in. When I "posted the G-code," I exported the file to "Forest Scientific," which is the CNC Router. Now I'm ready to move to the CNC Router!
|
|
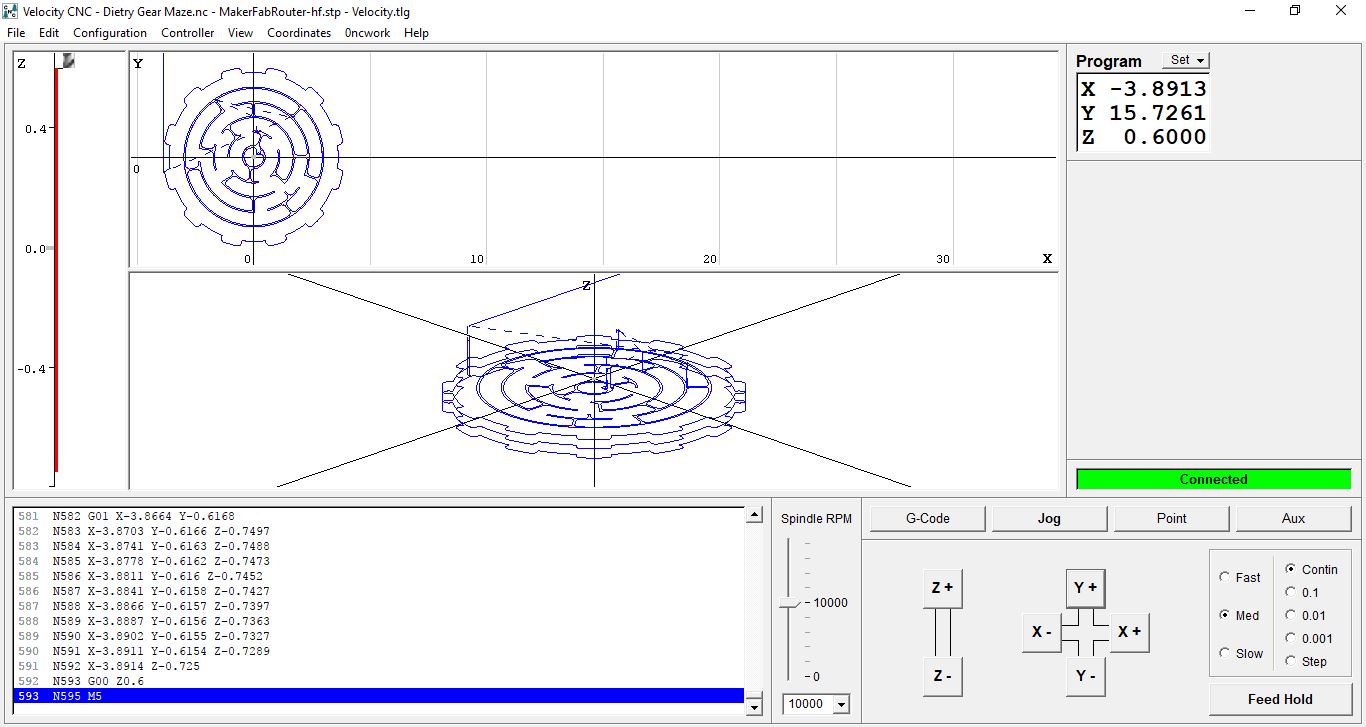
After uploading my G-code, I attached my foam to the router using double sided tape and jogged the mill over to the center point on my piece of foam, because that's where I set the box point to be. I used the special Z sensor to position the end mill accurately and zeroed all sensors so the router knew my starting point. Then I pressed start and watched the magic happen!
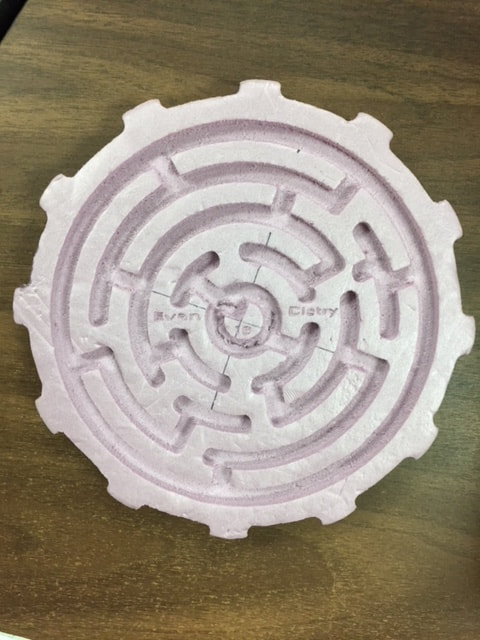
It turned out great! Afterwards I laser engraved my name onto the maze as a final touch (and it was required meh). If I wanted to I could route it out of wood now that I know my file is sound, but I'm lazy, unmotivated, and frankly I just don't want to. Sorry.
Summary
I learned a lot in this project. Most of the learning had to do with either Fusion 360 or the CNC Router since these were completely new to me. I learned that Fusion 360 is basically a different language and I just blindly did what I was told not knowing what settings I was changing in the set up process. Most of the steps made sense, like orienting the project and entering the mill size, but the contour stuff and passes was all very confusing. Another useful thing I learned was how to set up the CNC router using the jog buttons and zeroing the axes. Hopefully I'll get the hang of it in my next projects!
