Illustrator
Illustrator is a vector graphics editor program that allows us to create detailed 2D sketches that can be re-scaled while maintaining the same high quality, as it isn't raster art which uses pixels instead of anchors and paths. Vector art is very helpful in our engineering class because a lot of re-scaling may be involved in inventor projects.
Key chain in Illustrator
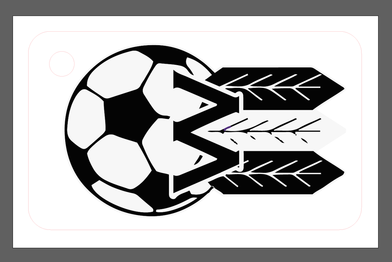
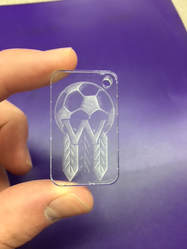
To begin designing my key chain in illustrator, I used the rounded rectangle tool to make the outline. I didn't want any sharp corners or edges so I chose a rounded design. Then I made a 3/16 diameter circle using the ellipse tool while holding shift for the laser to cut the key hole in the upper left corner of my design. I changed all lines to RGB red with a stroke of .0001 so that the laser would be able to recognize and cut along those lines.
Next I imported the waunakee soccer logo as seen in the picture. I used the "image trace" button and selected the mode "3 colors." Next I tried to use the direct selection tool to delete any excess colors I didn't want, but due to some shapes not being closed, Mrs. Proctor had to work some of her wonderful, beautiful, incredible magic to allow me to get the colors I wanted. She truly is fantastic. Once I had the image I wanted, I resized the outline while holding shift to retain the shape, because I wanted a smaller key chain.
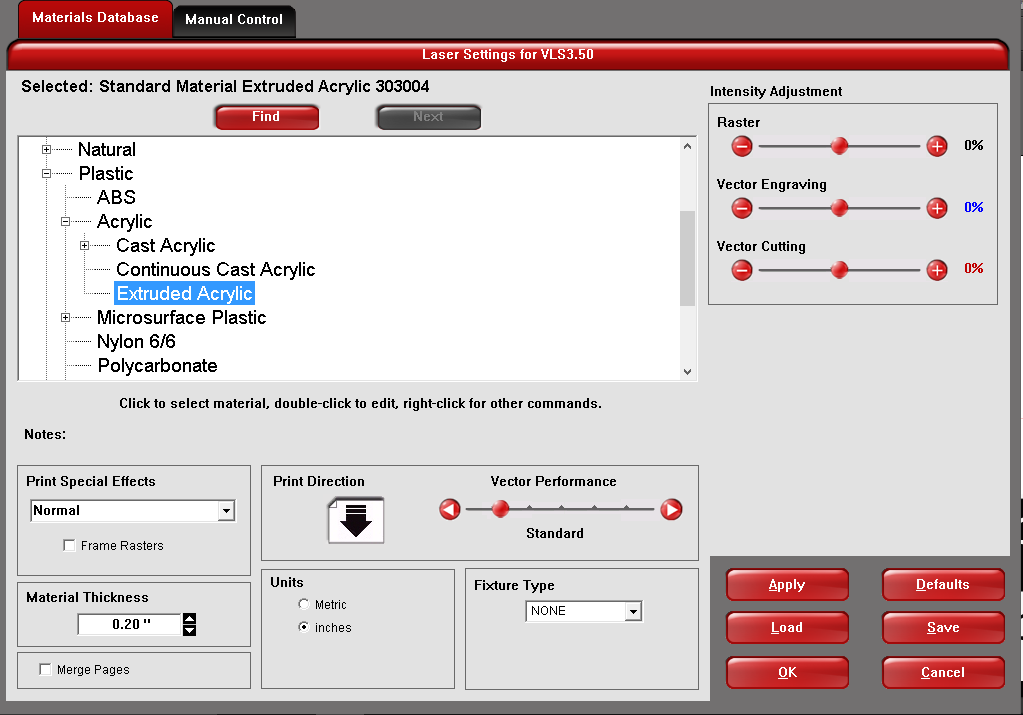
Next, I moved to the computer that is connected to the laser via the UCP software, which converts illustrator's "language" into the laser's "language." The first step in this process is converting the illustrator file to be printed to "VLS3.50," as seen in the picture (left). After this, I went into preferences and selected the material "extruded acrylic" under plastics. I used a dial caliper to measure the thickness of the acrylic and entered this into its respective box, as seen in the picture on the right. Now the laser is prepped to print.
|
|
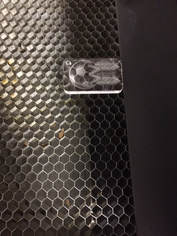
The final step before printing was positioning the laser over the acrylic as necessary. In the UCP program, I had to use the pointer button (shaped like a cone) to move the laser to the right side of the work space. Then I used the relocation tool and selected the bottom right corner box outlining my key chain, moving the project across the work space to the laser. Finally I pressed print, and voila!
|
|
|
|
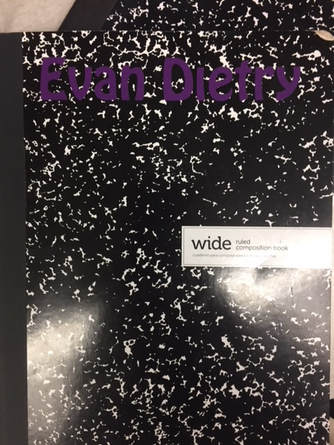
Vinyl Names
Mrs. Proctor showed us how to set up and use the Vinyl Cutter. First you have to lift the wheels of the machine to align the vinyl we were cutting along the base of the platform. Mrs. Proctor did a really good job at this, and we could totally tell she was super experienced and fantastic at her job.

The next step was adding our names to an illustrator work space. A lot of us were doing this all at once, so we arranged the names close together to save vinyl. Also, we made sure our names were 6 inches long so they would fit on our engineering notebooks by putting a line 6 inches into the document and resizing our names after picking our fonts.
After the vinyl cutter did its work, we went through the process of "weeding" out the parts of letters we didn't need, like the inside of an 'O.' We did this using dental tools, and Mrs. Proctor made this look super easy just like everything else she does and I'm like super jealous. I struggled a little but it's fine. After this step we used transfer tape, first sticking it onto the vinyl using a credit card and then sticking the vinyl onto our notebooks. Again, we used the credit card to ensure the vinyl would stick to the notebooks before peeling off the transfer tape and 45 degree angles to not peel off the vinyl. Then we were done!