Pug Water Bottle
|
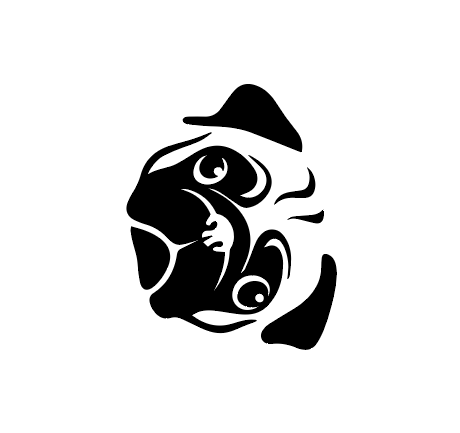
This is the illustrator file I made for my water bottle. I found a cartoon pug face online, pasted into illustrator, and used the image trace tool to make it a vector image so I could change the size without affecting the quality. After I finished, I moved over to the laser.
|
|
First we had to set up the rotary jig. I opened the door to the laser bed, removed the tray, and placed the rotary jig in the back right corner upon two bolts to keep it still. I inserted my water bottle and made sure it wouldn't budge using the red lever. Then I made sure the rotary jig was plugged into the laser and prepared to print.
|

|
|
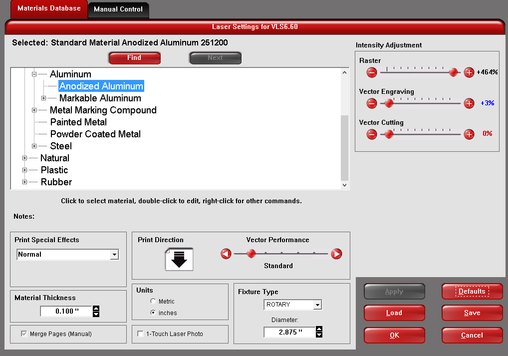
After selecting VLS6.60 for my printer, I went to preferences to set up my print. I made sure I selected anodized aluminum, the material of the water bottle, and I also needed to make sure the fixture type was rotary. I entered the diameter of my water bottle after using a dial caliper to measure it. I'm all set!
|
|
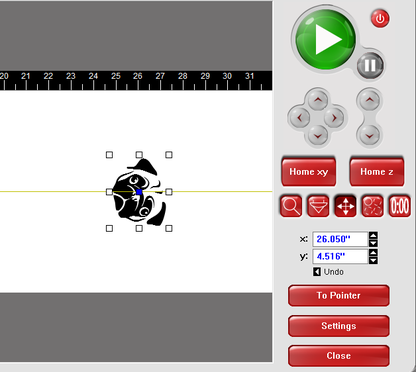
Now over to the UCP software. I used the focus tool to position the laser on what appeared to be the center of the water bottle. I then used the relocation tool and selected the center of my design and pressed "To Pointer" to position my design where I wanted it. Then I pressed play and watched the laser go to work!
|
|
|
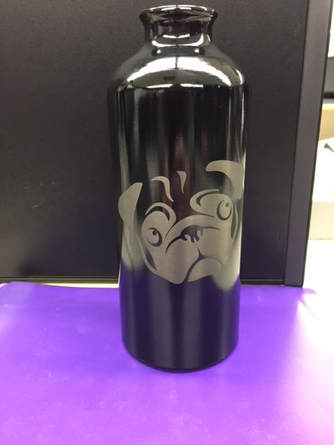
The water bottle turned out great! I made my design fairly small so that the entire pug face wouldn't stretch around the whole water bottle. This was a pretty fun project, and I'll gift this to my pug.
|
3D Laser Printed Penguin
|
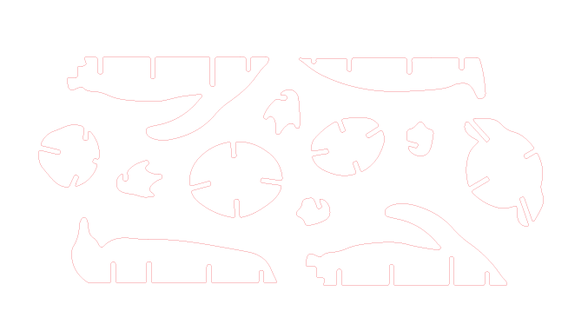
It's kind of hard to see here, but here is the outline I retrieved from thingiverse for a 3D puzzle of a penguin. I made all the lines .0001 RGB red so that the laser could read them, and I made it so that there wasn't a fill in any of the shapes. Then I measured the thickness of the cardboard I'd be cutting and scaled everything so that the notches that fit the pieces together were the thickness of the cardboard. This ensured that the cardboard design would stay together once built.
|
|
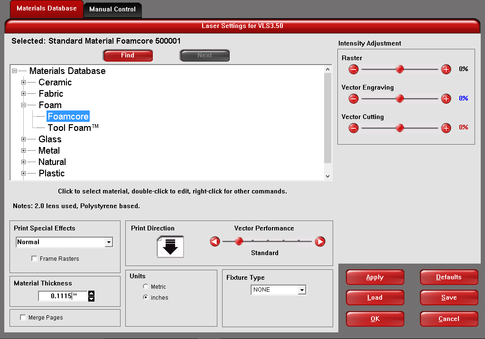
After selected VLS6.60 as my printer, I went into preferences and selected Foamcore, which is the material closest to cardboard in the materials database. I entered the material thickness I found with the dial caliper and selected "apply" and hit ok.
|
|
|
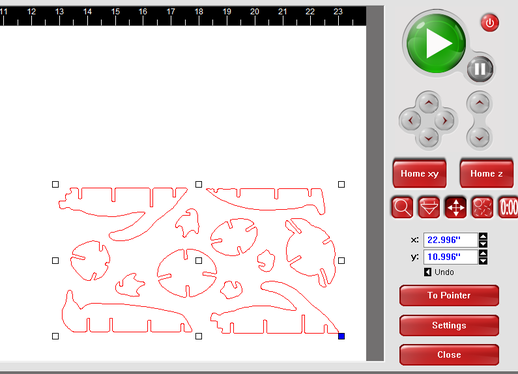
In the UCP software, I positioned the laser where I wanted it in the corner of my piece of cardboard using the focus tool. Then I used the relocation tool and selected the corner of my design, shifting it to the laser using the "To Pointer" tool. Then I pressed play!
|
|
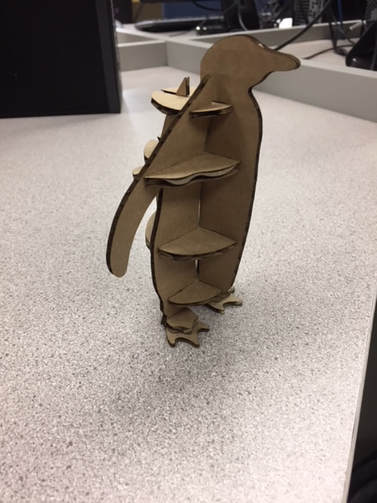
After cutting out all the pieces, I put the little guy together. He stands on his own, and fits together really nicely. It's snug, but not too tight-perfect so that it will stay together and won't get damaged as I put it together. Pretty neat!
|
|
Ohio State Themed Notebook

|
|
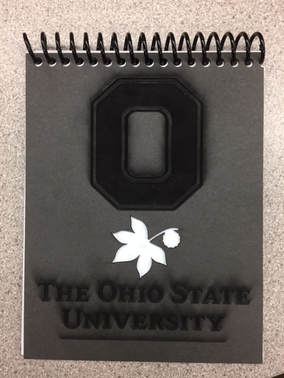
For my front cover I got the Ohio State "O" and the name of the university to be engraved by making them black. This was after, of course, pasting them into my work space and using the image trace tool, and then positioning them as I liked. It's hard to see in this picture, but if you lean down a bit, Mrs. Proctor, you can see the faint outline of the buckeye and buckeye leaf I chose to have cut out. I made sure it was .0001 stroke and RGB red so the laser would know to cut it. For the back cover, I chose their mascot, brutus, to be engraved. Mrs. Proctor helped me with the different colors in the right places so it turned out nicely in the laser (Thanks dude!)
|
|
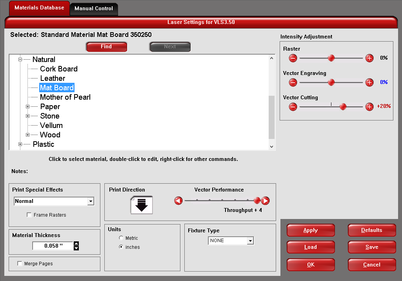
Moving over to the laser, I chose VLS6.60, which is the laser, as my printer, and moved into preferences. I was printing my covers on a Mat Board material, which I selected and applied the preferences.
|
|
|
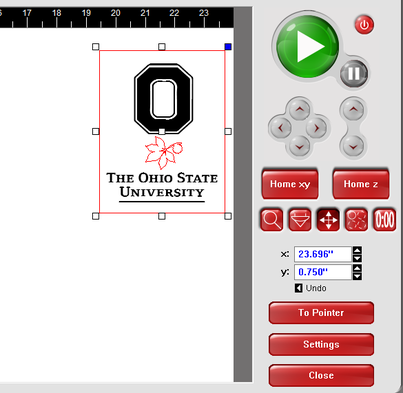
In the UCP software after hitting print in illustrator, I positioned the laser on the mat board in the laser bed using the focus tool and moved my design to the laser using the relocation tool. I had my 2 different covers as completely different documents, so I went through every part of the printing process twice. I pressed play, and both turned out great!
|
|
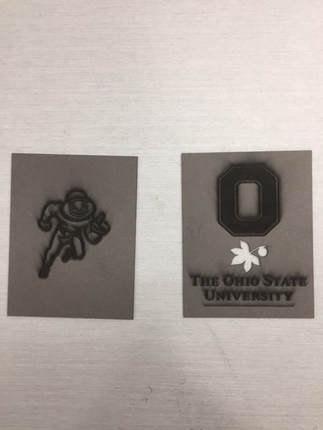
These are my two covers after engraving and cutting. Next I got my 20 sheets of paper for the notebook by stacking 5 sheets and cutting them in half twice with the paper cutter. Then I used the binder ring hole bunch to cut the top of both covers and all the papers. I twisted a ring through the top of everything once I stacked them, and curled the ends with pliers so they wouldn't run backwards and come off.
|
|
|
Here is the final product! It looks very good. I probably wont use it since the mat board has black dust that gets on my hands every time I pick it up, but that also gave the engravings a cool shading look. Fun!
|
Summary
I learned a lot in these projects! I learned how to make a puzzle, and I think the most valuable lesson from that was to measure the thickness of the material I was using to change the width of gaps in illustrator. I also learned how spiral notebooks are made with a nifty hole punch, and simply twisting the spiral through. Everything was successful!
